- Dan Lister
Automating deployments is a must when building an application. We've been using Windows Azure Websites to host our Umbraco solutions for a while. We wanted to step away from our TeamCity server as it adds another level of complexity to our deployments. Fortunately, deployment slots and custom deployment scripts have allowed us to remove our build server completely and rely solely on Azure's website deployment service, Kudo. Here are a couple of steps of how we step custom deployments.
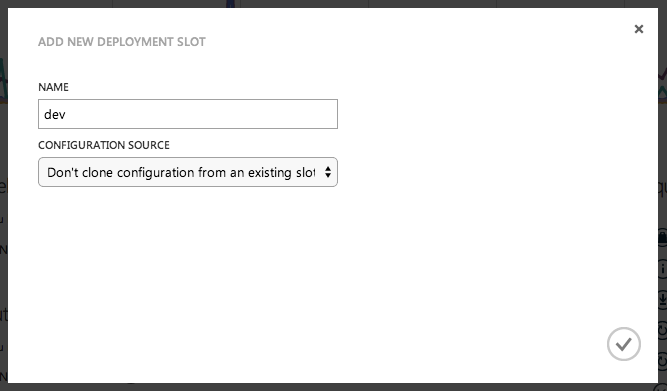
Create a Deployment Slot
For all our websites, we have two environments. Each website resource in Azure acts as our production environment which is linked to our master branch, in our git repositories. We also have a deployment slot which acts as our development environment. This is linked to our development branch, in our git repository. To create a development deployment slot, navigate to your website and choose the create deployment slot option, naming it appropiately. In our case, development.
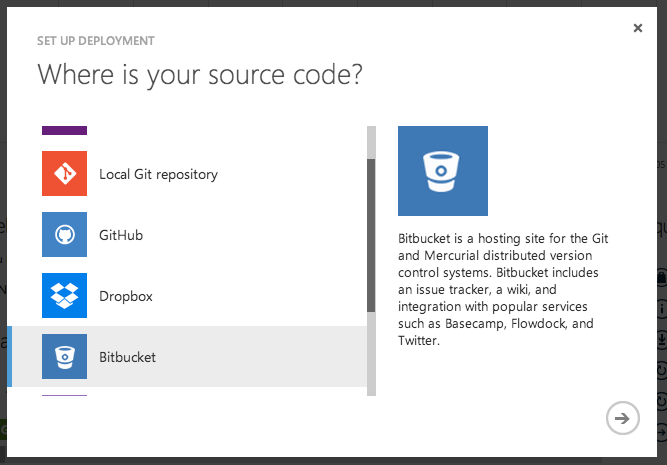
Link your Repository
Once your deployment slot has been created, connect your environment to your git repository. Also amend the branch name to development within the configuration tab of your website. This will build out your solution from the git repository's development branch.
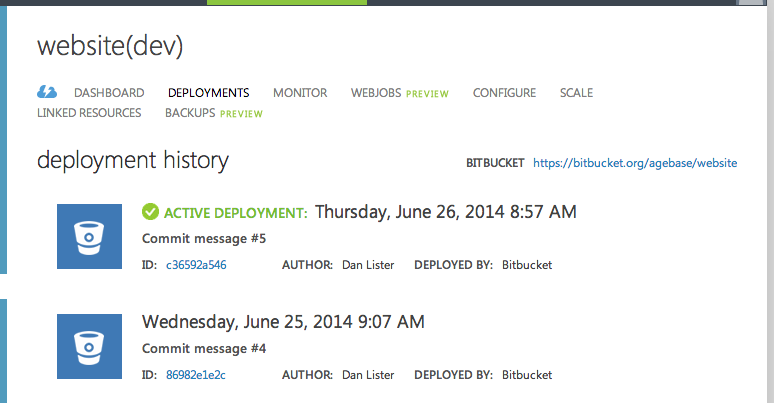
Deploy
Manually trigger a deployment from the deployment tab within your website. When you trigger a deployment within your website, Kudo will generate a deployment script which will compile and sync your repository with the website.
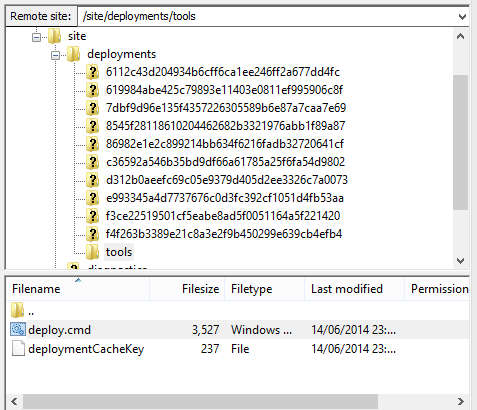
Find the Deployment Script
The generated deployment script can be obtained from your website's FTP location. Login details can be found on your website's dashboard. Once you have logged in via FTP, navigate to the /site/deployment/tools folder and find a file called deploy.cmd. This is your deployment script.
Add to your Repository
Add the deploy.cmd to a location within your git repository. We like to have a build folder which contains all build related files. To trigger your deployment script when your repository branch is built, add the following .deployment file to the root of your repository.
Add Web.config Transformations
Within your Visual Studio solution and projects, create build configurations which match the branch names of your git repositories. This will allow you to specify which web.config transform is completed upon building your application. To correctly build the correct configuration when deploying, a service variable called &branch& is available for you to pass to your msbuild command in your deployment script. Find the msbuild call within your script and changed the configuration property to &branch&. It should hopefully look like the below.
Add File Transformations
We often have to transform other files. For example, Umbraco's settings file or log4net configuration files. As far as I'm aware, msbuild will only transform web.config files. To fix this problem, in our build folder we create a log4net.dev.config and a log4net.master.config file. Using the &branch& service variable, we add a copy command to our deployment script to copy across the correct environment file. This command must be added before the solution is built.
And that's pretty much it. You should have an application which can be deployed to multiple environments using a custom deployment script to run custom commands such as copying environment config files.